

PTG Magazine - F.E PTG Guide To Forzatography Part 2
Jul 19, 2016 7:45:31 GMT
PTG Coops and PTG Onyx like this
Post by PTG DAN0 408 on Jul 19, 2016 7:45:31 GMT

PTG's Guide To Forzatography - Part 2
This time round we take a look at the effects of changing more than one setting and how composition can change a picture. This is only a very basic way in which a certain type of picture can be achieved. Other settings can be added and experimented with to create your own personal touch. We also take a brief look at the effects of sunlight before we move onto the 'Sunlight' theme in the next issue.
To start we have this picture which was taken with everything set at default.

In this picture the use of sepia and the removal of colour presents you with a black & white or aged effect.
This type of effect is especially useful if you are shooting picture's of older cars.

In the following picture we add a touch of contrast to enhance the lines and make the image stand out more.

This picture has had the contrast, brightness and exposure adjusted to make it look 'realistic'. Other settings can be added and experimented with for that truly realistic look. Be aware of the light around you though, Forza's sunlight can change a picture instantly depending on where your camera is pointing. Sometimes a slight change of camera position can be more effective that the settings themselves. If you think the settings you have worked up can't get any better then move the camera position, you'll be pleasantly surprised at the outcome.

The next picture is probably one of the most commonly used of all, as even at default this type of picture can be achieved. With the use of aperture and shutter we can create a sense of speed. Be careful of you composition though, put the camera in the wrong place and you won't be able to see that effect as much. Be sure to get some of the track in the shot, if not and your going for a side shot be sure to capture an object passing by.

Next up is what's called in the photography world, a macro. This is a very close up shot and is commonly used on insect's. Obviously we are a bit short on insect so we can use things like lights and badges. In this picture I used the headlight structure of the Lykan Hypersport. The trick with these is focus. Once you have selected your target and set your composition you need to play with your focus and aperture so that the target area is as focused as possible. Take care to not knock the controller, as your so zoomed in, the slightest nudge to the stick and destroy you shot and you'll be starting over.

With the use of aperture and focus once again but this time using an object around the track a filter shot can be achieved. This object can be a cone, a car, tyre walls, signs or anything else you can find. In this particular picture I use a cone. The idea is to get as close into the object as possible then hit X on the car to focus the shot on the car. The object, depending on you two settings, will then spread across your shot creating a filter. This can be experimented with for hours, just drive around and look for things you can use. Again don't be afraid to mix it up with other settings or even other 'types' of shot.

This picture uses high exposure, colour and brightness to create an abstract or fantasy shot. Again there are many area's to discover around each track in which you can create different types of abstract shot's.

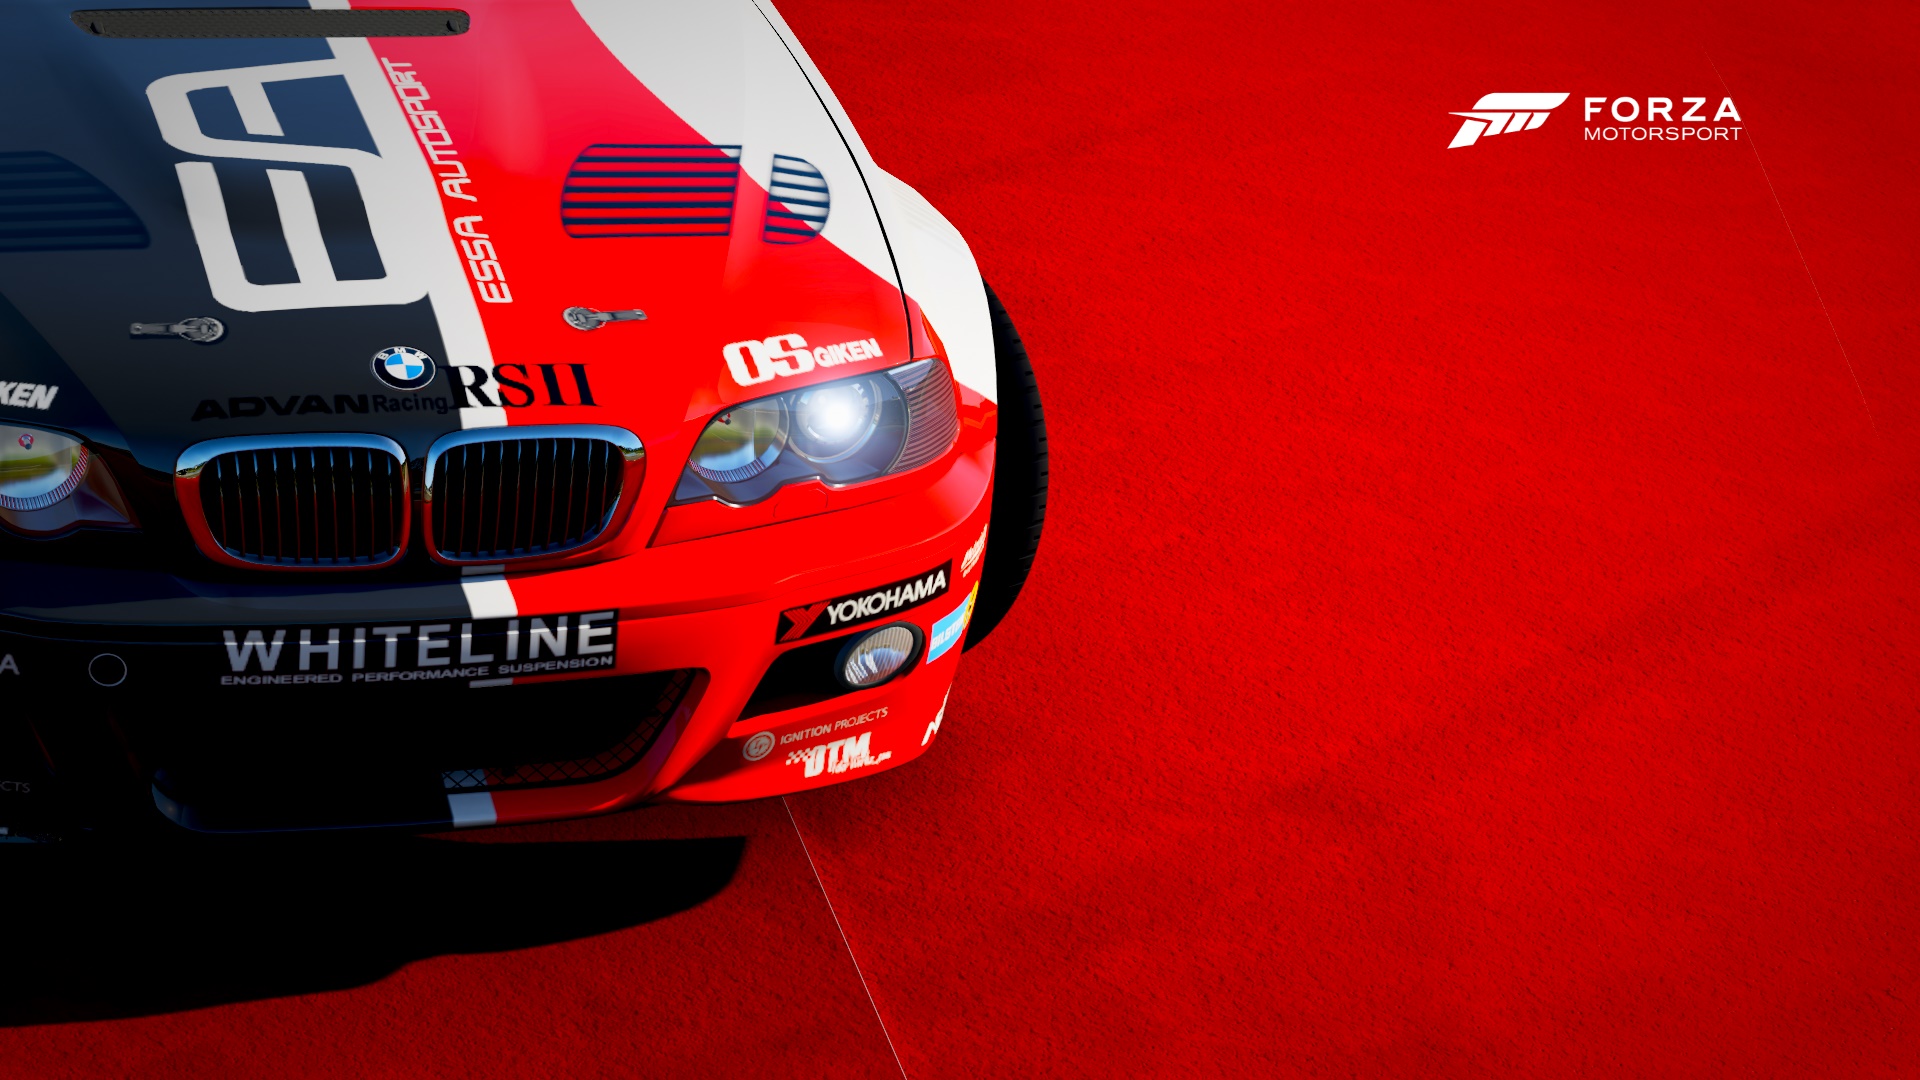
This shot by PTG Coops is a great example of an 'artistic' shot. The idea is to blend you object with your background to create art. As you can see in this picture PTG Coops uses the flow of the red off the bonnet to seep onto the ground. Many photography's have different way's to present an artistic shot. Art is a personal expression so don't think that the shot you create is wrong, there is no wrong or right in art.
Happy Shooting!


